2. Adobe Photoshop (We have used Adobe Photoshop 7.0 in this tutorial)
3. Skills to operate mouse and keyboard (1)
4. A little patience(2).
#1st step - Create a new canvas in Adobe Photoshop.
We fill the Background layer with black (recommended, you can choose any color you want) by setting the "Foreground color" to black in the Tools Panel by choosing Edit -> Fill (while the Background layer is still the active layer in the Layers Panel) making sure that the Use option is set to "Foreground Color", and pressing OK. That will fill our Background layer with the desired color. Another way is by using the "Paint bucket" tool with color set to black. All you need to do is click on the canvas and the "Foreground color" will be changed to black.
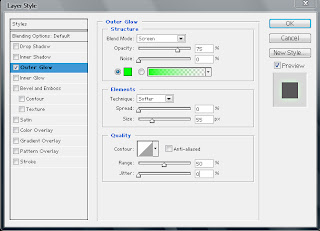
>Blend mode: Screen
>Opacity: 75%
>Noise: 0%
>Choose the Lime Green color (#00FF00)
Elements-
>Technique: Softer
>Spread: 0%
>Size: 55%
Quality-
>Range: 50%
>Jitter: 0%


>Brush size: 155 px
>Mode: Normal
>Opacity: 10% (or according to your need)
>Flow: 100%
>Pattern: Choose the pattern we created in the previous step.
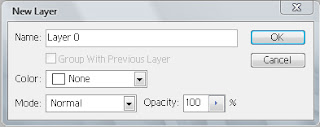
Note: Click on "Yes" if asked to Rasterize your layer.
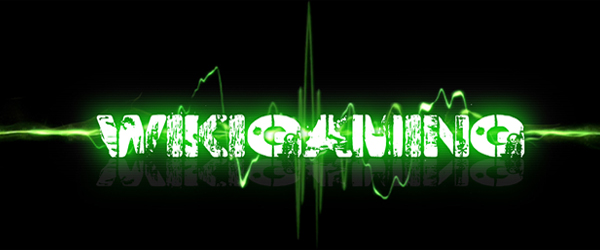
#6th step - Applying the green flares in the background of the text.
Click and open the image below in a new window/tab. Now, Right click and save it on your computer.


Excellent post! Bookmarked it! Thanks for sharing this post,I never forget this happyness after read this good content information.Ha! I love it. Thanks!
dedicated hosting reviews
Thank you very much!! Very usefull! ;)